Picture this: guests call to say they’re dropping by in 20 minutes, and your bathroom… well, it’s not exactly guest-ready. We’ve all had those moments—heart racing, you scan the mess, and wonder where to even start. It shouldn’t take all afternoon (or cost your dignity) just to fling the door open with confidence.
But here’s the thing: when this chaos goes unchecked, it’s easy to feel embarrassed or overwhelmed. Maybe you end up avoiding the room, or stress about what others might think. Honestly, the real drain isn’t just dirt—it’s that constant knot in your stomach, worrying about surprise visits or judging glances.
By the end of this guide, you’ll have a realistic, step-by-step game plan for how to clean bathroom fast—without missing the important stuff. Ready to figure out how a 15-minute routine can actually work? The trick is in the sequence—let’s jump in.
Essential Supplies For Speed Cleaning
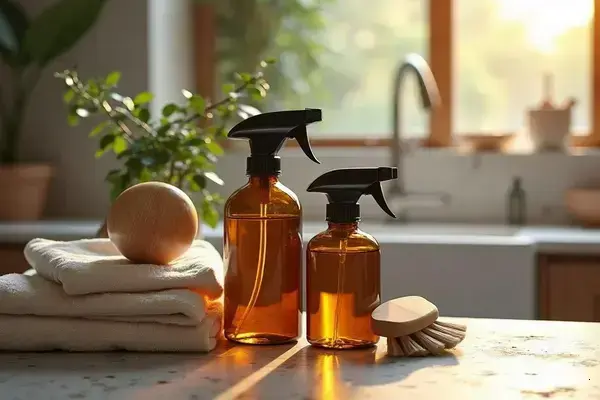
Imagine you’re about to tackle a dirty bathroom but only have 15 minutes and zero time for hunting down missing spray bottles. Sound familiar? The truth is: your cleaning speed isn’t about how fast you scrub—it’s about having every supply prepped and within arm’s reach before you start.
- Multi-surface disinfectant spray: Cuts through grime on sinks, counters, and even toilet exteriors. Opt for an EPA-registered formula for maximum results.
- Glass cleaner: Essential for mirrors and chrome fixtures—no streaks, no haze.
- Microfiber cloths: They trap dust and cut residue better than paper towels, and they’re reusable.
- Disposable disinfecting wipes: For the fastest touch-ups around the toilet, faucet bases, and doorknobs.
- Toilet bowl cleaner and brush: Look for angled brushes that reach under the rim; gels with color change technology are proven effective, says the American Cleaning Institute.
- Scrub sponge or small brush: Crucial for soap scum and grout lines—choose non-scratch varieties for delicate finishes.
- Rubber gloves: Protect your skin (and nails) from harsh chemicals and germs.
💡 Pro Tip: Store your core bathroom cleaning supplies in a clear plastic caddy—one you can grab and carry in seconds. You’ll never waste time searching for products or hauling buckets room to room.
In practice: Picture this scenario—a parent with three kids has exactly one episode of their favorite show to blast through the whole bathroom. With a loaded caddy, it’s grab-and-go simplicity. No distractions, no frantic supply runs.
| Supply | Primary Use | Must-Have For |
|---|---|---|
| Microfiber Cloth | Dusting & Polishing | Streak-free mirrors, preventing lint |
| Disinfectant Spray | Killing germs, wiping counters | Quick cleaning, shared bathrooms |
| Toilet Brush | Scrubbing toilet bowl | Deep cleans, stain prevention |
According to studies by the Centers for Disease Control and Prevention (CDC), bathrooms are hot spots for bacteria, especially on handles and faucet tops. Swapping out sponges monthly keeps things hygienic—and you’ll notice the difference.
But there’s one detail most owners completely overlook until it’s too late…
The 15-Minute Bathroom Cleaning Breakdown
How do you get a sparkling clean bathroom in just 15 minutes—without skipping the stuff that actually matters? It all comes down to following a systematic routine that hits the highest-impact zones first. Setting a timer keeps you on track, but knowing what to tackle (and what to skip) is what really saves time.
- You’ll need:
- Multi-surface disinfectant
- Glass cleaner
- Microfiber cloths
- Disinfecting wipes
- Toilet cleaner
- Scrub brush
- Paper towels or dry cloth
- Clear out clutter (2 minutes): Move toothbrushes, soap, trash cans, or any bottles from countertops, so you have open surfaces to work.
- Spray all surfaces (3 minutes): Cover sink, counter, and toilet exterior with multi-surface cleaner. Let it sit and work while you move on—this is called dwell time and makes disinfectant way more effective, says the American Cleaning Institute.
- Wipe mirrors and glass (2 minutes): Use glass cleaner and a fresh microfiber cloth for streak-free shine. Work top-to-bottom.
- Scrub the sink & counter (2 minutes): Wipe down with your disinfectant-soaked cloth, paying extra attention to faucet handles and around the drain.
- Clean toilet bowl (2 minutes): Apply cleaner under the rim, scrub thoroughly with your toilet brush, and use disinfecting wipes for the exterior and lid.
- Mop or spot-clean floor (2 minutes): Focus on high-traffic zones first—like around the toilet and baseboards—using a damp cloth or mop. Don’t forget behind the door!
- Replace items & finish (2 minutes): Set back clean items, empty the trash, and do a quick visual check for streaks or missed areas.
💡 Pro Tip: Always start at the highest point—mirror or shelves—so any dust or residue falls to surfaces you’ll clean next. You’ll never have to double back and redo a section.
In practice: Picture this scenario—someone’s texting that they’ll be “right over,” and you know your bathroom needs a reset. Fifteen minutes on the clock and this play-by-play routine means you’re not guessing, you’re just moving. The Centers for Disease Control and Prevention reminds, dwell time on disinfectants is key: those seconds really add up for actual germ removal.
But what if you’re unsure which order gets you out fastest with the best results? That’s where the sequence you pick matters most…
Order Matters: The Fastest Way To Tackle Each Task
Ever start cleaning a bathroom, only to realize you’re doubling your work? That’s the classic pitfall—wrong order means wiping up what you just cleaned. The trick is to follow a flow that works with (not against) gravity and bacteria. You’ll save both time and energy, and the results are genuinely noticeable.
Here’s a step-by-step structure for the most efficient clean:
- Mirrors and Shelves First: Spray and wipe top-down, so any dust or droplets fall to surfaces you’ll clean next.
- Counters and Sink: Use a disinfectant. Wipe the faucet last with a fresh section of your cloth for a shiny finish.
- Toilet (outside, then inside): Start with the flush handle and seat. Work down to the bowl with a dedicated brush or disposable wipes—never reuse a cloth here.
- Shower or Tub: Tackle edges and faucet handles first. Soapy residue travels, so save the floor of the tub for last.
- Floor Last: Begin furthest from the door and mop or spot-clean toward your exit. This prevents footprints and keeps everything sanitary.
| Step | Why This Order? | Common Mistake |
|---|---|---|
| Mirror First | Gravity brings dust down | Wasting time cleaning countertop twice |
| Toilet before floor | Avoids dirty drips on clean floor | Leaving toilet for last, risking cross-contamination |
| Floor last | No sticky footprints left behind | Mopping first, then tracking dirt back in |
⚠️ Important Warning: Always switch to a new cloth or disposable wipe when moving from toilet surfaces to other areas. The National Sanitation Foundation warns that cross-contamination here is one of the top culprits for spreading germs at home.
In practice: Picture this scenario—a college student rushes through a clean, starting with the sink, stepping on a freshly mopped floor, and finishing with the mirror. They’re left with streaks, puddles, and sticky clutter footprints—backtracking eats up those precious minutes you could’ve saved.
And this is exactly where most people make the most common mistake…
Spot-Cleaning Tricks For High-Traffic Days
What do you do when your bathroom gets constant use—guests in and out, teens rushing through, or just daily chaos—and you can’t hit reset with a full deep clean every time? That’s where spot-cleaning comes to the rescue. Think of it as the fast-forward button for visible messes and touch zones that get grimy first.
- Microfiber Grab-and-Go: Keep a microfiber cloth handy under the sink. Sweep it over faucets, mirror splatters, and countertop toothpaste blobs after each use. It makes more difference than you’d think, especially for water spots.
- Disinfecting Quick-Wipes: Stash a pack of wipes within reach. Door handles, flush levers, and light switches are germ hotspots, so a quick swipe keeps bacteria at bay, as noted by the CDC.
- Daily Toilet Touch-Ups: Drop a disposable toilet-cleaning pod (brand preference: Clorox ToiletWand or Lysol Click Gel) to keep things fresher between real scrubs. No brush, no mess.
- Spray & Squeegee: For glass shower doors, a streak-free surface is 30 seconds away. Mist daily with a quick-dry cleaner, then sweep a squeegee from top to bottom.
💡 Pro Tip: Assign each family member a target—mirror, sink, or toilet handle—on high-traffic days. You’ll be shocked how easy it is to prevent a Saturday deep-clean marathon later.
In practice: Picture this scenario—a Monday evening, and after dinner, both kids have soccer and you have guests dropping by for coffee tomorrow. Instead of panic-scrubbing at midnight, you wiped up splatters as you went and gave the faucet a quick polish after teeth brushing. In the morning, your bathroom already looks 80% clean.
| Spot | Best Tool | Frequency |
|---|---|---|
| Sink Faucets | Microfiber Cloth | After each use |
| Toilet Handle | Disinfecting Wipe | Daily |
| Mirror | Glass Spray + Wipe | Every other day |
What actually works might surprise you…
Keeping Your Bathroom Fresh Between Deep Cleans
Ever wondered why some bathrooms always seem fresh—even on the busiest weeks—while others feel musty and tired by Wednesday? Here’s the thing: it’s not just about hard scrubbing. It’s about tiny, consistent habits that actively prevent odor and clutter from building up in the first place.
- Ventilation: Always run the exhaust fan or open a window during and after showers. This reduces moisture, and according to the Environmental Protection Agency, helps prevent mold and mildew before it even starts.
- Dry Surfaces Daily: Wipe the sink and counter with a clean microfiber cloth after teeth brushing or shaving. Water drops left behind can cause mineral stains and boost bacteria growth quickly.
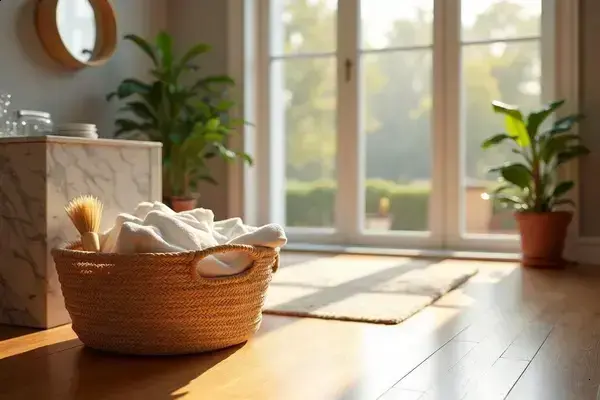
- Swap Out Towels and Mats: Don’t wait for laundry day. Hang towels spread out; toss them in the wash every three to four uses, and shake out bath mats to keep them smelling clean.
- Automatic Air Fresheners or Charcoal Bags: Use a discreet deodorizing spray, plug-in device, or natural charcoal bag to tackle lingering odors. Just be sure the air freshener isn’t masking a larger moisture problem.
💡 Pro Tip: Add one minute to your morning or evening routine to wipe the most-used fixture—like the faucet or handle. Over a month, you’ll save hours on deep cleans and cut down on stubborn buildup.
In practice: Imagine the difference—every night, you do a quick 30-second mirror wipe, shake out your towel, and crack the window while showering. By Friday, your bathroom still smells fresh and doesn’t need a panic clean before guests arrive.
| Habit | How Often | Why It Works |
|---|---|---|
| Ventilate After Shower | Every use | Reduces mold and mildew risk |
| Change Towels | 3–4 uses | Stops unpleasant odors |
| Wipe Counter | Daily | Prevents water spots and bacteria |
Small steps, repeated consistently, make the biggest difference over time.
Your Bathroom’s Fresh Start Is Here
If you take just one thing from this guide, let it be: you don’t need hours or harsh chemicals to master how to clean bathroom fast. With the right supplies, a smart routine, and a reliable order, your bathroom stays guest-ready with way less stress.
Before, quick cleans felt scattered, maybe a little hopeless (or like you were stuck chasing streaks!). Now, you’ve got a system—fifteen minutes for a total reset, spot tricks for busy days, and tiny habits that keep things fresh every week. It gets easier with every round. Your time—and bathroom—are finally under control.
What’s the first speedy cleaning or fresh-keeping tip you’ll try in your bathroom? Tell us below—can’t wait to hear how it works for you!